How to Add Title to the Invoice?
Customizing your invoices in Challan to include a specific title is straightforward and allows for greater personalization. This feature is part of the premium offerings of the Challan plugin. By following these simple steps, you can add a custom title to your invoices, providing clarity and a professional touch to your documents.
Here’s how to add a title to your invoice:
- Navigate to “Challan Settings“.
- Select the “Invoice Tab“.
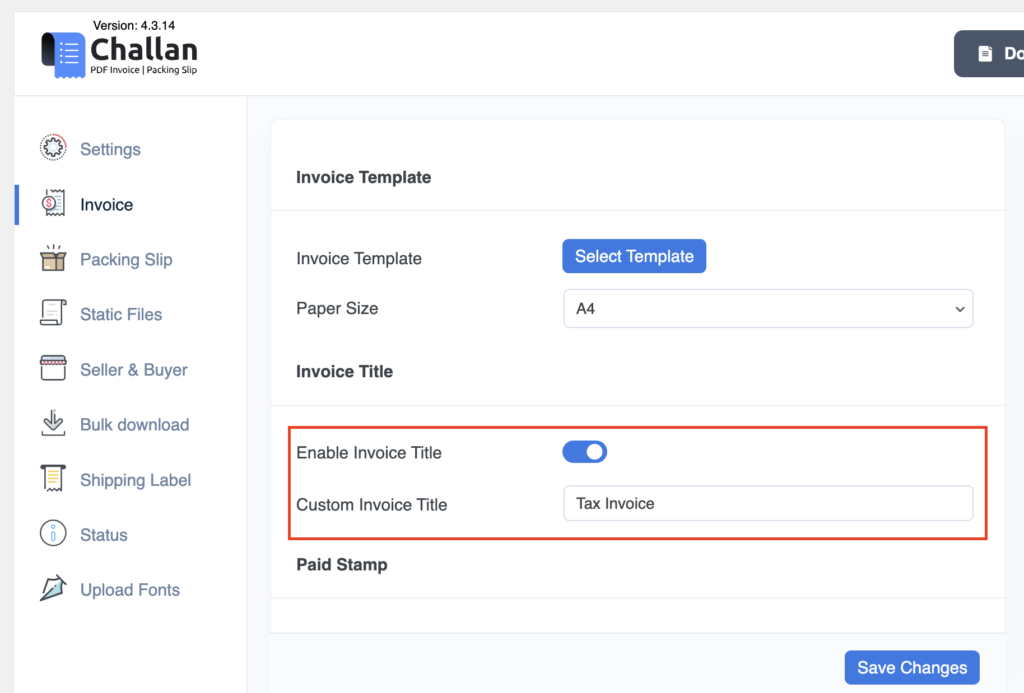
- Scroll down to the “Invoice Title” section.
- Locate “Enable Invoice Title“. Here, you need to enable it.
- Now, you can see the title “Invoice” in the invoice by default. If you want to change or customize the title, you can input the title in the “Custom Invoice Title” field.
- Then, click on the “Save Changes” button to save the changes made.
Screenshot –

By following these steps, you can easily add a custom title to your invoices in Challan, making them more personalized and professional.